How To Build A Sauna: Step-by-Step Guide + Setup Checklist
So, you want to know how to build a sauna. But most guides feel like they were written by a contractor with a thesaurus and a caffeine addiction. They bounce from stud spacing to heater brands while you are still stuck wondering what size sauna you even need. You open five tabs, read three blogs, and somehow end up confused about what comes after insulation.
This guide fixes that. It gives you a step-by-step process that makes building your own sauna feel less overwhelming and a lot more doable. From picking the right heat source and wiring it safely to choosing the best wood and avoiding costly DIY mistakes, we will walk you through exactly what to do and in what order to start using your sauna in no time.
How To Build A Sauna: The 5 Most Important Things To Remember

- Measure cubic footage before you pick a heater. Your heater size isn’t a guess. Calculate the interior volume (L×W×H) and match it using a 1kW per 45–50 ft³ rule. Undersized heaters never reach full temperature and burn out faster.
- Never skip the foil barrier + insulation combo. Rockwool batts + foil vapor barrier (with tightly taped seams) trap heat, prevent moisture damage, and make your heater more efficient. One insulation mistake can cost you hundreds in lost heat.
- Add both an intake and an exhaust vent. Dizziness, mold, and slow heat-up times often come from poor airflow. Place a low vent behind the heater and a high one on the opposite wall. 3"–6” diameter ducts work for most builds.
- Start with paneling from the ceiling down. This prevents visible gaps as the wood expands and contracts. Use tongue-and-groove cedar or thermo-aspen and leave a 1/8” expansion gap between boards.
- Stick to heat-safe distances and UL-rated shields. Keep 3–12” between heaters and nearby walls, 18” from electric heaters to benches (36” for wood-burning), and always add heat shields when minimums can’t be met.
Is It Worth Building Your Own Sauna? Here’s What You Need to Know Before You Start

Yes, building your own sauna is completely worth it if you're willing to follow the steps carefully. You get full control over the design, size, and budget. When done right, it pays off in long-term savings and daily wellness.
Here’s when building your own sauna is worth the effort:
- You save a significant chunk compared to a custom-built sauna. DIY builds often cost $2,000–$5,000, while professional installations can run past $10,000.
- You unlock long-term health benefits at home. Frequent sauna use supports muscle recovery, sleep, stress relief, and cardiovascular health without the extra spa fees.
- You match the design to your exact space. Indoor, outdoor, basement, shed, and even garage builds are possible with the right plan and materials.
- You avoid common contractor compromises. Most hired jobs default to standard sizes or skip proper ventilation. DIY lets you get it right from day one.
- You boost property value with a functional wellness space. A well-built sauna makes your home more desirable—and more personal.
How To Build A Sauna In 8 Steps & Avoid Rookie Mistakes

Review your space, tools, and budget as you go through each step. Skip shortcuts and follow these in order.
Step 1: Lock In Your Location, Size, & Type
This step sets everything in motion. Your choice of indoor, outdoor, or basement sauna will decide your heater type, materials, and build challenges.
- Use 4'x6' minimum if you want space for two people to lie down.
- Pick indoor if you need easy electrical access or year-round use. Cube saunas are a great fit for compact interiors that still need full heat performance.
- Choose outdoor saunas if you want wood-burning heat or cold plunge access.
- Check moisture levels, drainage, and headroom for basements.
- Always confirm local codes and fire clearances before you start.
Step 2: Choose The Right Heater For Your Setup
Your heat source affects power needs, wall clearances, ventilation, and session feel. Don’t pick a heater just because it’s cheap.
- Use electric heaters for most indoor builds (requires 240V).
- Go with wood-burning for outdoor, off-grid, or traditional setups.
- Pick infrared panels that suit tight spaces or mobile units, but offer milder heat.
- Match heater to cubic footage (download the sizing table here).
- Add a heat shield if your wall clearance is under 12".
Step 3: Build The Frame & Get The Insulation Right
Poor insulation causes heat loss and high electric bills. Most DIY failures start here. Frame tight and insulate smarter.
- Frame with 2x4 or 2x6 studs, 16” on center.
- Use rockwool or fiberglass batts, R13–R19 for walls.
- Install foil vapor barrier on the inside; face it toward the heat.
- Leave a 1” air gap between foil and paneling.
- Tape every seam with aluminum foil tape to trap heat.
Step 4: Run Electrical & Prep Lighting Safely
This step controls heater power, lights, and ventilation fans. Bad wiring risks shock or fire. Hire a licensed electrician if you’re unsure.
- Use a GFCI-protected 240V circuit for electric heaters.
- Add a second circuit for lights and exhaust fan (if needed).
- Keep wires outside the hot zone whenever possible.
- Install dimmable LEDs behind bench skirts for comfort.
- Confirm breaker size matches heater amp draw.
Step 5: Install Paneling & Prep The Floors
Interior finish impacts heat hold, comfort, and durability. Never use treated wood or flooring that absorbs water.
- Use tongue-and-groove cedar, aspen, or thermo-aspen.
- Start paneling from the ceiling down for tighter joins.
- Leave room to expand: 1/8” gap between panels.
- Use slatted duckboards or sealed cement on the floors for drainage.
- Avoid tile or vinyl, as they’re too slippery and mold-prone.
Step 6: Build Your Benches & Fit The Door
This part defines comfort and safety. Most DIYers regret poor bench spacing or buying flimsy premade doors.
- Build upper and lower benches, 18–24” deep, 18” apart.
- Use 2” slat spacing for airflow and faster dry-out.
- Keep the bench-to-heater distance at 12–36”, based on the heater.
- Use insulated glass doors with spring hinges to reduce heat loss.
- Add heat-resistant handles and door stops to prevent warping.
Step 7: Add Ventilation To Keep The Air Moving
Lack of airflow causes dizziness, stale air, and mold. Don’t skip this even if your sauna “feels warm enough.”
- Add a low intake vent behind or near the heater.
- Place a high exhaust vent on the opposite wall, near the ceiling.
- Use a 3"–6” duct diameter based on sauna size.
- Open vents during sessions and dry out afterward.
-
Place a chimney flue damper above the stove for wood-burning builds.
Step 8: Heat Test & Do A Final Safety Check
This is where everything gets verified. You’ll spot problems before your first real session.
- Heat the sauna to 150–190°F and hold for 30 minutes.
- Use a thermometer + hygrometer to track air quality.
- Check door seals, vent flow, and bench temperatures.
- Look for any signs of smoke, scorching, or warped panels.
- Add extras like backrests, lights, and essential oil holders after safety clears.
8 Key Considerations To Remember For Building Saunas In Specific Locations

Check these 8 details before you start construction.
- Basement humidity risks: Add a vapor barrier behind exterior walls and install a dedicated exhaust fan. Aim for 40–60% humidity post-session to avoid mold.
- Cold-climate outdoor builds: Use pressure-treated subfloor and screw pile foundations that reach below frost lines. Add 2" rigid foam under the floor deck to reduce heat loss.
- Bathroom conversion limits: Skip infrared here. Steam and humidity compound fast. Stick with electric heaters under 6 kW and confirm the room has a vent or window.
- Garage heat loss: Seal overhead doors and use R13-R19 insulation. Install a wall-mounted intake vent if the space shares air with a car bay.
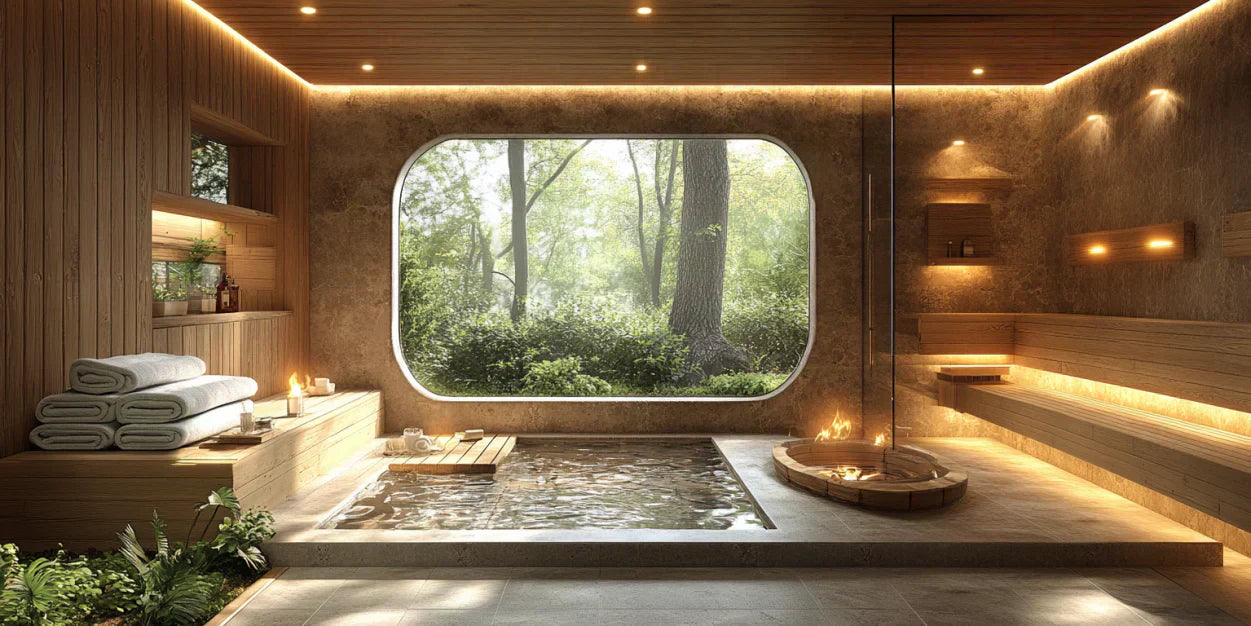
- Window placement: South-facing windows overheat saunas in summer. Use frosted or low-E tempered glass on east- or north-facing walls if you want to add natural light, like in panorama saunas designed to frame scenic views while managing heat flow.
- Indoor ceiling height traps: Don’t exceed 7’ in small rooms unless you install a stronger heater. Heat rises and stalls, which makes the benches cooler than the top air layers.
- Shared-wall builds: Use sound insulation like mineral wool if the sauna backs into a bedroom or nursery. Avoid wood-burning stoves near shared drywall.
- Slab-on-grade floor setups: Always use waterproof underlayment or epoxy over concrete. Wood slats must stay off direct slab contact to prevent rot.
Sauna Build Checklist: Everything You Need To Check Off Before You Build & Use Your DIY Sauna

Review this checklist before you start cutting wood or wiring anything.
1. Double-Check Your Tools Before Day 1
You need the right tools ready before framing or paneling starts. Some are basic, others are job-specific. Forgetting even one slows the entire process.
- Circular saw with fine-tooth blade: for clean cuts on tongue-and-groove paneling.
- Foil tape and taping knife: for sealing vapor barrier seams tightly.
- Stud finder and level: for 16” on-center framing and heater clearance alignment.
- Wire stripper and voltage tester: to prep electrical safely before the electrician finishes.
- Hole saw (3"–6”): for intake and exhaust vent openings.
2. Lock Down Every Material You’ll Need
Materials can’t be improvised mid-build. If your panels don’t match your insulation plan or your bench wood warps under heat, it’s too late to fix.
- R13–R19 rockwool or fiberglass batts: check local supply.
- Foil vapor barrier rolls: 1 per 50–60 sq ft of wall/ceiling area.
- Tongue-and-groove cedar, hemlock, or thermo-aspen: 15% overage for cuts and waste.
- Stainless screws and non-toxic wood glue: avoid zinc or coated fasteners.
- Heat-rated sauna heater: sized using your cubic footage table.
3. Confirm All Safety Clearances & Placement
The right heater doesn’t matter if your layout ignores minimum distances. Many fires and insurance issues come from just one missed inch.
- Maintain a 3–12” air gap between the heater and the nearest wall (check manufacturer's chart).
- Keep 18” bench-to-heater distance (electric) or 36” (wood-burning).
- Confirm the ceiling height is at least 7 feet unless using a low-profile unit.
- Place the ventilation intake near the floor by the heater and the exhaust high on the opposite wall.
- Install heat shields if there is any clearance under the minimum threshold.
4. Do A Full Pre-Test Before Your First Session
You don’t want to troubleshoot insulation gaps or power faults once the sauna is heated. Run a dry test day and monitor every variable.
- Heat to 170°F for 30 minutes and measure how long it takes to stabilize.
- Use a thermometer and hygrometer combo to track temperature + humidity in real time.
- Check every seam and vent for visible steam or condensation.
- Test door seal, hinge springs, and airflow behind benches.
- Confirm the breaker doesn’t trip during peak heat and fan use.
5. Download A Printable Version You Can Keep On Site
Don’t rely on memory. Keep a physical checklist while building to avoid missed steps and double work.
- Include your exact room dimensions and heater model for quick reference.
- Print separate columns for “To Buy,” “In Progress,” and “Installed.”
- Tape the sheet to your workspace or keep it in a zippered sleeve near your toolbox.
- Update it daily as you complete electrical, framing, insulation, etc.
- Save a digital copy with receipts and inspection notes.
>>> Download This Printable DIY Sauna Build Checklist Now
How Much Does It Cost To Build A Sauna? Actual Expenses You Should Expect To Incur

A DIY sauna costs between $2,500 and $5,500 for most standard home setups. This covers framing, insulation, heater, paneling, and basic electrical work. Outdoor wood-burning saunas and basement builds can cost more due to foundation work or added ventilation.
Here’s a complete DIY sauna cost breakdown:
Framing + Structure:
- 2x4 or 2x6 lumber, screws, brackets: $300–$500
- Subfloor or platform (for outdoor builds): $250–$700
Insulation + Vapor Barrier:
- Rockwool or fiberglass (R13–R19): $250–$400
- Foil vapor barrier + foil tape: $100–$200
Interior Paneling:
-
T&G cedar, aspen, or hemlock (with overage): $700–$1,500
Heater & Electrical:
- Electric heater (6kW–9kW): $500–$1,200
- Infrared panels: $400–$800
- Wood-burning stove + chimney: $800–$1,500
- Electrical installation (licensed): $300–$800
Benches + Doors:
- Wood for benches: $100–$250
- Insulated glass door: $300–$600
Ventilation & Lighting:
- Intake + exhaust vents: $50–$150
- LED lighting system: $75–$200
Permits & Miscellaneous:
- Building permit (if required): $50–$300
- Thermometer, hygrometer, backrests, accessories: $100–$250
The 6 Types Of Saunas You Can Build Based On Your Needs & Style Preferences
Use this table to compare size, heat source, build effort, and cost of the 6 main sauna types.
|
Sauna Type |
Heat Source |
Ideal For |
Build Difficulty |
Average DIY Cost |
Key Considerations |
|
Traditional Finnish |
Wood-burning |
Outdoor, off-grid, and ritual-based sessions |
Medium–High |
$3,500–$6,000 |
Requires a chimney, fresh air intake, fire clearance, and weather-resistant build |
|
Electric Indoor |
240V Electric |
Indoor, daily use, and modern homes |
Medium |
$2,500–$5,000 |
Needs a licensed electrician, a GFCI breaker, and solid ventilation |
|
Infrared |
Infrared panels |
Small spaces, solo use, and mild heat lovers |
Low |
$1,500–$3,000 |
No ventilation needed, plug-in units available, and limited humidity |
|
Wood-burning |
Backyard, scenic views, and fast heat-up |
Medium |
$3,000–$5,500 |
Curved walls reduce volume; most come in kits, and roof sealing matters |
|
|
Basement Conversion |
Electric |
Urban homes and unused basement space |
High |
$3,500–$6,000+ |
Needs extra moisture control, venting, and sound insulation |
|
Mobile Sauna Trailer |
Wood or Infrared |
Events, rentals, and on-the-go wellness |
High |
$5,000–$9,000+ |
Trailer weight limits, weatherproofing, and a portable power source are required |
6 Common Mistakes DIY Sauna Builders Wish They Knew + How To Avoid Them

Scan this list to avoid the most costly DIY mistakes.
- Heater size mismatch: Undersized heaters never reach proper temperatures and trip circuits. Measure your exact cubic footage (L×W×H) and use a 1kW per 45–50 ft³ rule. For example, a 6x6x7 sauna needs at least 6kW.
- Poor vent planning: Forgetting vents until the end traps moisture and causes dizziness. Frame a low intake vent behind the heater and a high exhaust vent on the far wall using 3–6" ducts.
- Foil barrier fails: Most heat escapes from sloppy taping. Use aluminum foil tape only. Overlap seams by 2 inches, and flatten them with a taping knife. Never leave gaps, because moisture will find them.
- Flammable wall clearance mistakes: If any surface sits closer than 12” to your heater, add a UL-rated heat shield. Skip it, and you risk failed inspections or fire.
- Wrong materials inside: Drywall, MDF, or treated wood release toxins. Use only untreated cedar, aspen, or thermo-aspen inside. For the floor, stick to sealed cement, epoxy, or duckboards.
- Uneven or damp floors: A sloped base causes warped frames, mold, and wobbly benches. Use self-leveling compound for indoor builds or concrete plinths/screw piles outdoors.
How To Maintain Your DIY Sauna & Avoid Costly Repair Costs: 6 Proven Strategies

Use these 6 steps to set up a simple care plan that extends your sauna’s life.
- Wipe down benches after each use: Use a soft cloth and warm water to clean sweat off cedar or aspen. This prevents sweat stains and keeps the wood from absorbing odors.
- Dry out the room fully after every session: Open the door and vents for 30–60 minutes after each use. This clears humidity and stops mold from forming under benches or behind panels.
- Scrub the floor once a week: Use a non-acidic wood cleaner or vinegar solution. Focus on the space under the duckboards where moisture builds up fast.
- Check heater stones every 4–6 months: Replace cracked stones and restack them with airflow gaps. Poor stacking blocks heat flow and burns out elements faster.
- Inspect foil seams once a year: Look behind panels for loose or flaking foil tape. Re-seal any lifted areas to stop long-term heat loss and condensation inside walls.
- Sand benches lightly every 6–12 months: Use 120-grit paper to remove buildup and surface oil. Smooth wood dries faster and keeps bacteria from settling in.
Conclusion
Learning how to build a sauna isn’t about doing everything perfectly; it’s about getting the sequence right. From heat source to ventilation, each step builds on the last. The strategies are all here; they leave very little room for costly surprises or dead ends when you follow them to a T.
If you love the idea of an outdoor, wood-burning sauna but want to skip the construction stress, Nordvik makes it easy. Our ready-built units blend hand-crafted quality with Nordic durability—no code headaches or design guesswork needed.
Bring home a sauna that’s already done right. Shop Nordvik’s wood-burning saunas today.
FAQs
Can I build a sauna using only hand tools?
Yes, you can if you're experienced with woodworking. Hand tools like a handsaw, hammer, and chisel work fine for basic framing and benches, but you'll need precision for paneling and insulation. Power tools save time and reduce mistakes.
What’s the cheapest way to build a sauna?
Use reclaimed wood, opt for a small footprint, and choose an affordable electric heater. Skip fancy accessories and DIY your benches. Avoid cost-cutting on insulation or safety, as those can cost more in the long run.
Can I build a sauna in stages, or does it have to be completed all at once?
You can absolutely build in stages. Just finish your framing, insulation, and heater setup first because these are the core steps. You can add benches, lighting, and paneling details over time.
Is it safe to use foam board insulation in a sauna?
No. Foam boards can off-gas or melt at high temperatures. Stick to rockwool or fiberglass batts rated for high heat. Always pair with a foil vapor barrier for proper heat retention.

